Showing posts with label Tutorials. Show all posts

Thursday, February 28, 2013

DIY Enamel Dots and Pinspired Challenge #4

Yesterday I made up this tutorial for making your very own enamel dots, but at a fraction of the cost of purchasing them. Unfortunately, there was no daylight for pics so I made another project for Pinspired Challenge #4 and snapped a few new pictures.
You can view the video tutorial on Youtube at
DIY Enamel Dots
I really liked the green and orange color combo.
 

Those gold dots came out FABULOUS!

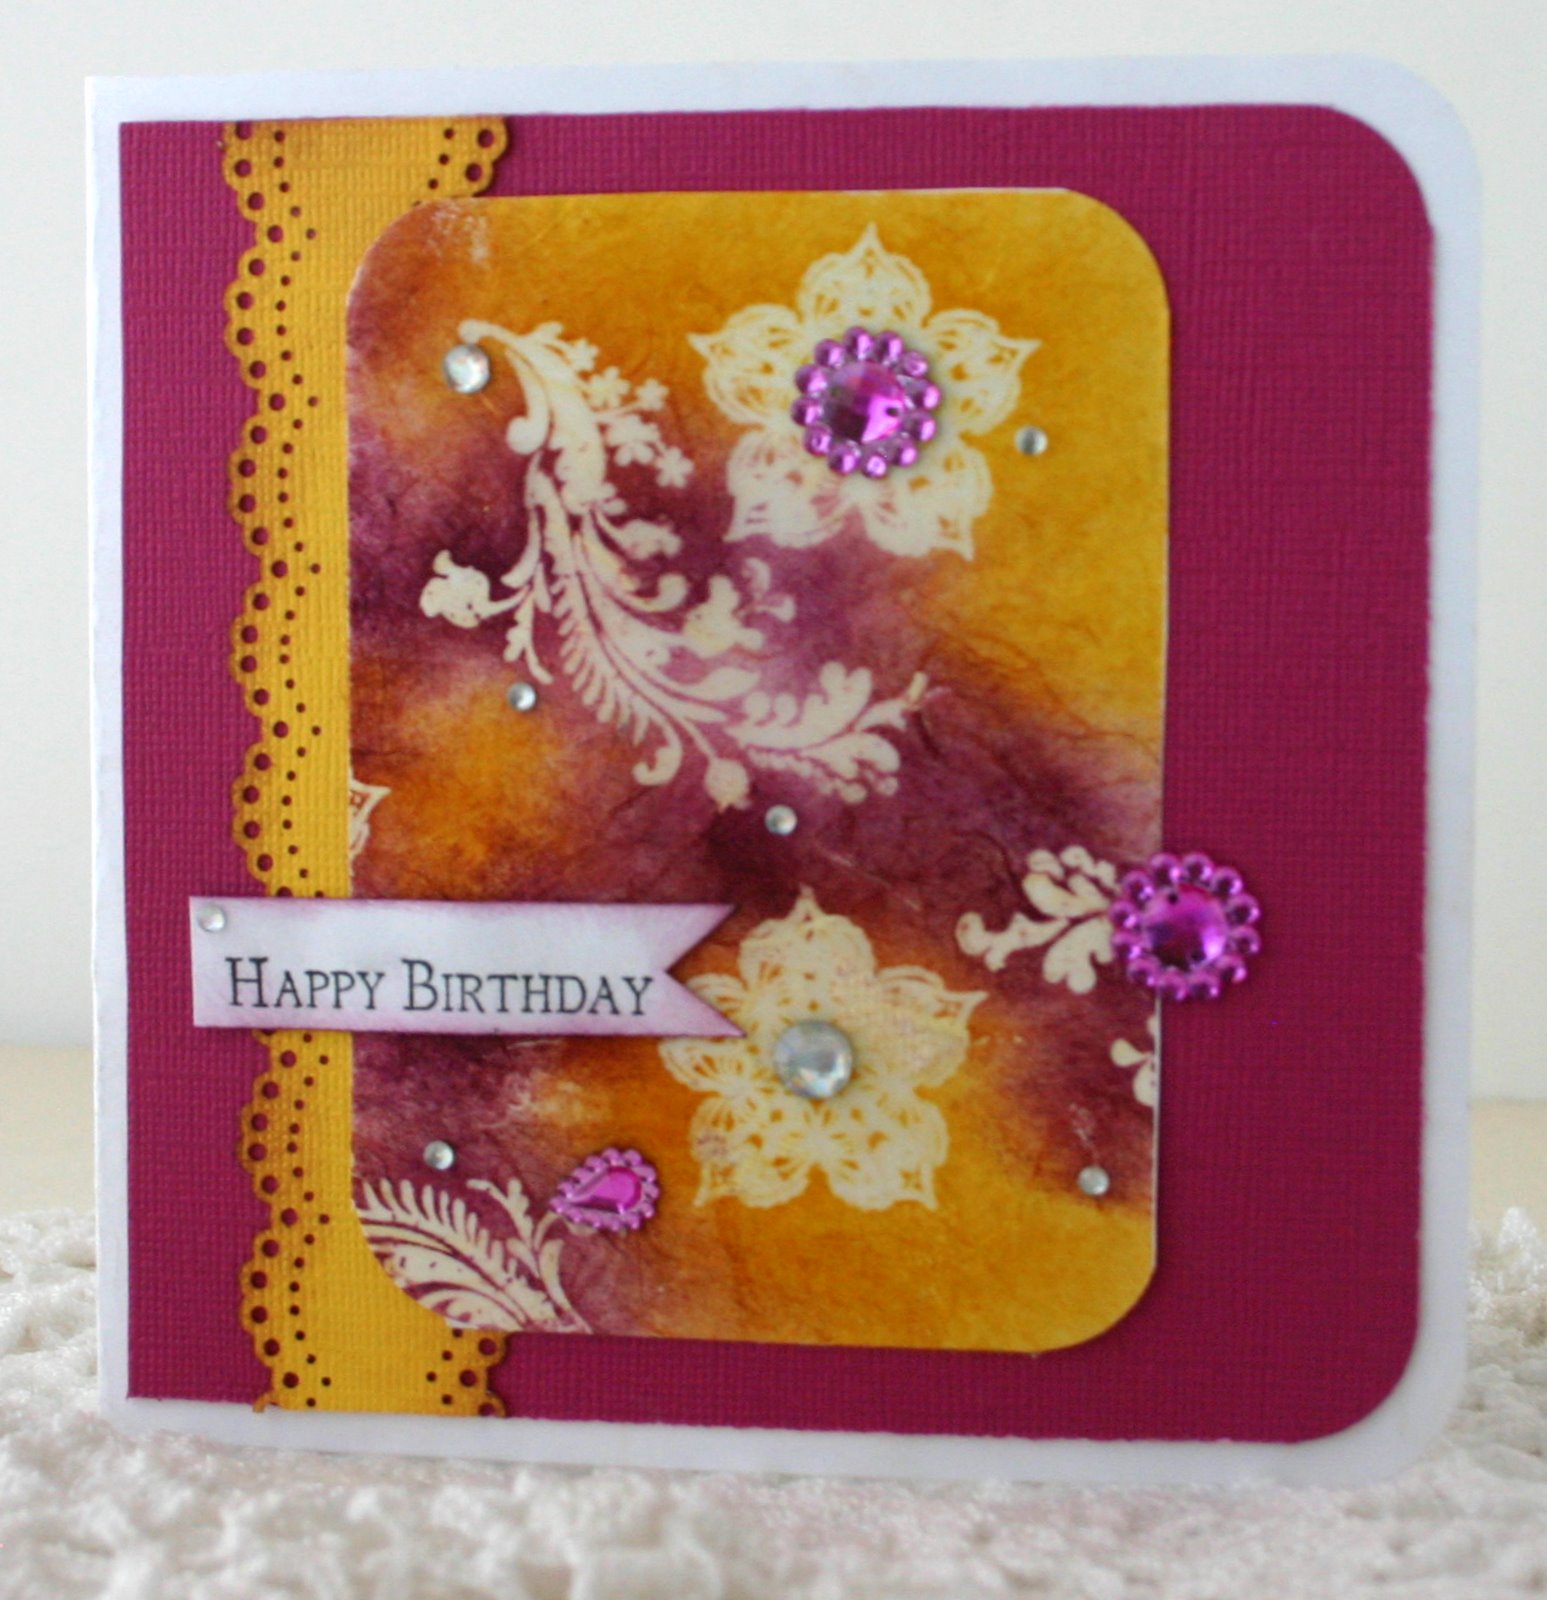
And here are the new shots of the other projects.

So much sassyness here.
 

They can be sweet too.

I also found that I could peel up the adhesive with the dots and then use that to stick it to my project. SCORE!
Craft away my friends.

Wednesday, February 27, 2013

DIY Enamel Dots!

I'm so excited to tell you about this idea I had.
I really, really, wanted to get some of those enamel dots but I kept thinking that there has got to be a way to make them yourself!!! So my little wheels kept on turning and this is what popped in my head.
I made a little video tutorial for you and I hope you give it a try.

DIY ENAMEL DOT TUTORIAL VIDEO
please watch the video for the how-to :)


They give a fun little punch to the project.
Then I got a bunch of my pinks and reds together and made some more.

They store easily and are a fun addition to any project.
Stay crafty my friends.

Sunday, November 11, 2012

Faux Batik Birthday Card


One of my dearest friends celebrated her birthday last week.
She has a great blog. She's so crafty and does such amazing things with sewing and
canning and food!! I love her to pieces.
You can visit her at
Mi Espacio Favorito

I used the Faux Batik Technique that I did a tutorial for
HERE
to make this card.
I love the bright purples and yellows together!!
Hope you have a crafty day!

Wednesday, February 22, 2012

Beautiful Bow Tutorial: Authentique Loyal


Please stop on by the Authentique Paper blog today. I have a tutorial for these sweet little bows.

Sunday, January 22, 2012

Altered Thickers Tutorial: Scrapbook Steals

I made up this tutorial and totally forgot to post it. It's a fun way to make your Thickers match any project you're working on :)
SCRAPBOOK STEALS HOW TO'SDAY
Have a super day :)

Tuesday, January 03, 2012

Tuesday Tutorial: Altered Thickers


Head on over to Scrapbook Steals Blog today and check out the tutorial I put together :)

Friday, December 02, 2011

Designer Felt Tissue Case: Fun Friday Craft


I adore this printed felt and I had a great project in mind for it. Inexpensive and useful.

Begin by cutting a 6"x 7" piece of felt. The width will be 6 inches. Fold the bottom up to the half way point and then fold the top down so that it overlaps 1/4" over the bottom. Place it under your presser foot on your sewing machine and sew a straight stitch with a 1/4" seam allowance.

For flair and funtionality I added a second row of stitching at 1/2" from the edges.

I then pinked the edges of my tissue case

Add your mini tissue pack and you have a super gift for family or friend this Christmas!!

So, my friends, don't be suprised if one of these tissue case finds itself in your happy little hands this holiday season.

Stay crafty my friends.

Wednesday, July 20, 2011

Faux Batik Embossing Technique


Have I told you lately how much I adore this little "partnership" I have with ScrapbookSteals.Com! They are such an amazing company. There prices are THE BEST! And the people that work there are TOP NOTCH...so nice and UNBELIEVABLY AWESOME. I did a tutorial for their blog on Faux Batik embossing and you can see it

Thursday, December 23, 2010

Clay Pot Nativity Tutorial: Last Minute Gift


What you'll need to get started for 1 Nativity

2- Mini Clay Pots (Packs of 6 for 99 cents)
1- 1 11/16" x 5/8" Wooden "Boy Pieces" ($1.47 for 5)
2- 1/4" x 1 3/16" Wooden Ball Knobs ($1.47 for 4)
Skin Tone Acrylic Paint
Black Acrylic Paint for eyes
Various Acrylic Paint Colors depending on you preferances
3- 5" circles of fabric again depending on your preferances ( I buy 1/4 yard of each color= 32 or more fabric circles)
Spanish Moss or staw
1- Mini Clay Pot Saucer
Total Cost for 1 Nativity Under a dollar if you get your supplies 1/2 off at your crafting center


Begin by painting your pieces skin tone
Next Paint your pots their base color: I chose a tan color for Mary and only painted the rim a rust color for Joseph
I paint "Mary's" body like so
and Joseph's like this
Next: attach your heads to their bodies using hot glue
Mary's Headdress: Fold 1/3 of the fabric down
Attach to the top of her head with hot glue making sure the back of the circle of fabric is even with the bottom of the pot
Press the fabric forward like so
Add a dab of hot glue to her neck and press the fabric forward
Repeat with other side of fabric, tie a bow with twine or hemp
Josheph's Headdress: Fold 1/3 of the fabric circle down
Hot glue the fabric to his head
Push the back sides of the fabric forward around his neck and glue to the inside of neck
Next push the sides of the headdress down to create a fold, glue the undersides down
Tie a circlet of twine around his forehead and knot it in the back
secure the knot to the nape of his neck with hot glue
Swaddling Baby Jesus: First fold 1/3 of the fabric circle down
Fold the bottom half of the fabric up over the baby
Fold the right side straight down to create a triangle
Repeat on the left side
Loosely fold the right side over and glue in place, repeat on the left
For the eyes: Dip the end of a small paint brush in black paint
Make sure to reload the end for each eye to get EVEN eyes
For Baby Jesus' eyes I loaded the end and then tapped it off once on the plate for a smaller circle
Isn't it sweet?
Option: to finish the nativity you can add a bed of straw or spanish moss to a mini clay saucer (I was unable to find any at the local HL recently) for a manger. Have fun making these and I'd love to see them if you use this tutorial. Have a great day!
Misty